Windows 10 allows you to add OEM support information in the System Properties. The OEM information includes your company name, phone number, website URL, and even a custom logo. In this tutorial you’ll learn how to easily add OEM support information to a Windows 10 computer, with the sole purpose of assisting customers.
How to Add OEM Support Information to Your Windows 10 Computer?
- Press the Windows key + R to open the Run command box. Type regedit and press Enter.

- Once Registry Editor is opened, navigate to below following location:
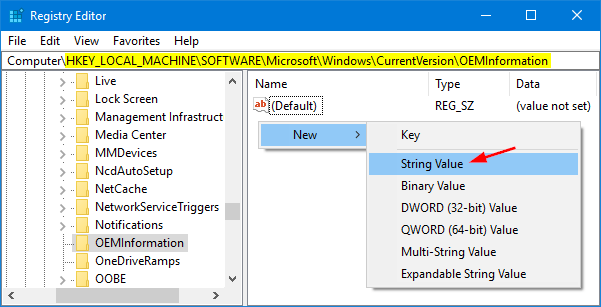
HKEY_LOCAL_MACHINE\SOFTWARE\Microsoft\Windows\CurrentVersion\OEMInformationWith the OEMInformation key selected on the left, right-click any empty space on the right side and choose New > String Value.
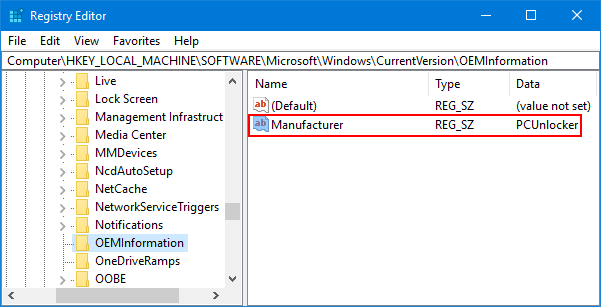
- Name the new value as Manufacturer, and then change its value to your company name or the vendor’s name.
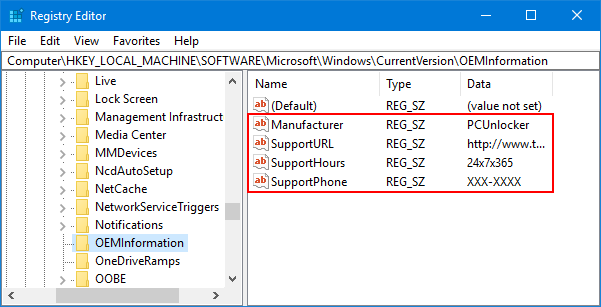
- Repeat the above step to add other OEM support information: Model, SupportHours, SupportPhone, SupportURL, Logo. The logo must be a BMP image file and cannot be bigger than 120×120 pixels in size.
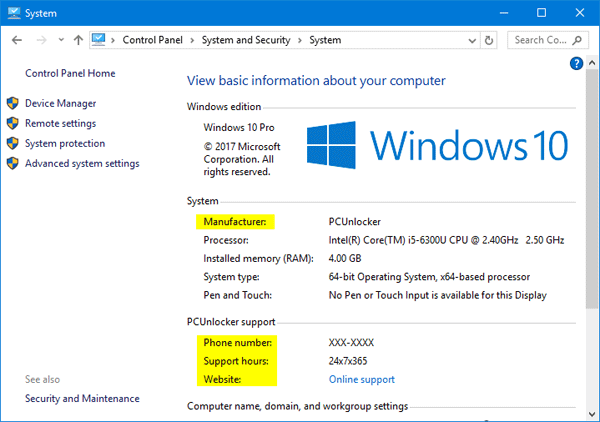
- Now open System Properties by right-clicking on This PC icon on the desktop and selecting Properties, you’ll see your customized Manufacturer information listed under the System section. If you add a support telephone number or website, they’ll appear in a separate Support section of the window.
With these simple steps, you can add completely custom OEM support information to a Windows 10 PC. This can come in handy if you’re building PCs for others, or if you just want to add a unique and custom aspect to your system.