Keep getting low disk space on C:\ drive even if you’ve deleted all files you can delete? There is no spare partition for another operating system? In this tutorial we’ll show you how to use the built-in Disk Management to shrink & expand partition in Windows 10, 8 and 7.
Part 1: Open Disk Management
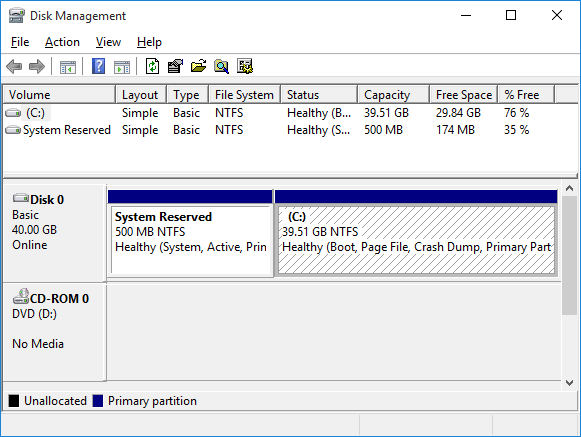
To access Windows build-in Disk Management tool, just press the Windows key + R to open the Run box. Type diskmgmt.msc and hit Enter. This will open the Windows Disk Management utility. From there you can resize (shrink or expand) your hard drive partition without data loss.
Part 2: Shrink Partition
Need to create a new partition but you don’t have unallocated space? Just shrink an existing partition to free up space from which you can create a new partition. Here’s how to shrink a partition:
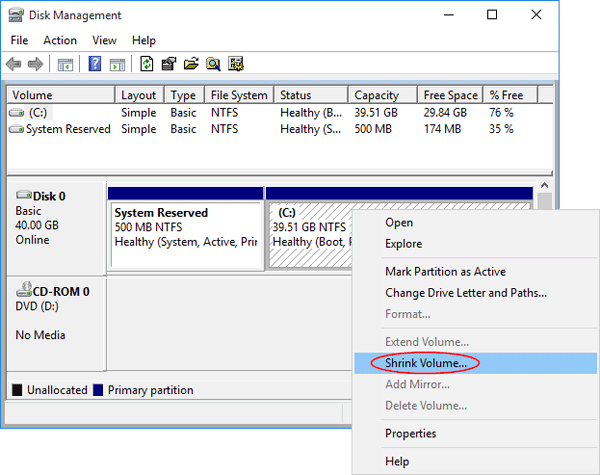
- Right-click the partition you want to shrink (C: in our example) and select Shrink Volume.
- Windows will take a moment to query the volume for available shrink space. Enter the amount of space you want to shrink. For example if want to free up 15GB space, enter 15000 Mb (1000 MB = 1 GB) in the text box. Next click Shrink.

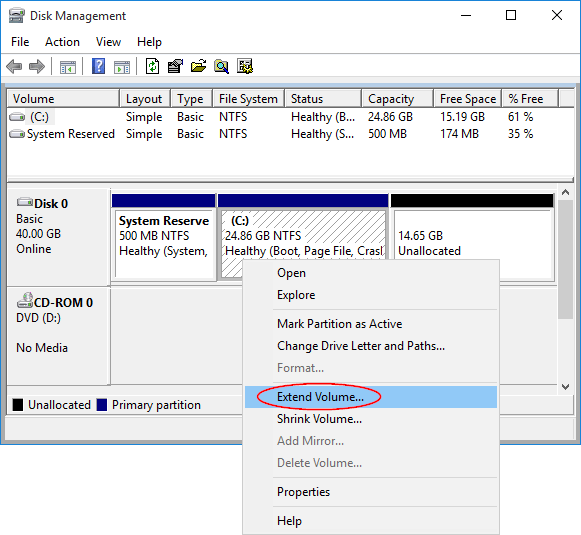
- When the process is complete, you will see a new unallocated partition right next to your shrinked partition.
Part 3: Expand Partition
Run out of space on one of your Windows partitions? You can also expand disk partitions, as long as there is free (unpartitioned) space available only after the partition you’re trying to expand. Here’s how to expand a partition:
- Right-click the partition you want to expand (C: in our example) and select Extend Volume. Note that the Extend Volume option might be greyed out when there is no unallocated space right after your selected partition.
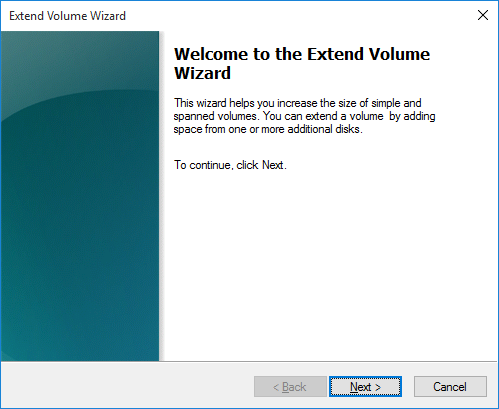
- Now when the Extend Volume Wizard opens, click Next.
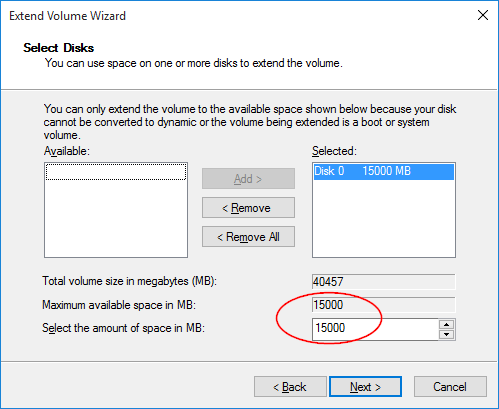
- It will select the maximum number of unallocated space itself. But you can set any amount yourself too, keep in mind that it is calculated in MB not GB. After you are done here, click Next.
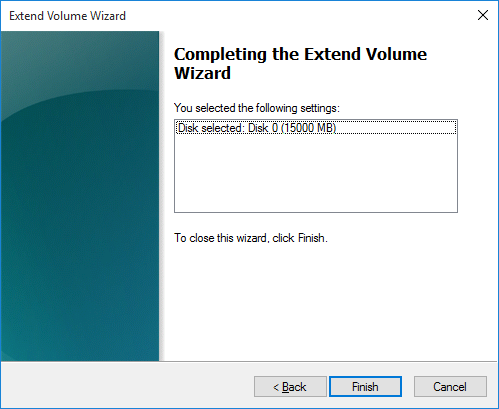
- You’ll see a brief summary of the changes. Click Finish to apply them. Now you’ll see your partition is larger and the unallocated partition has been merged.