Worry about someone copying files off your PC via USB drive? The most common solution is to disable or restrict the usage of USB ports. In this tutorial we’ll show you another way to enable write protection of all USB drives that are connected to your Windows operating system.
How to Enable USB Write Protection in Windows 10, 8 and 7?
- Press the Windows key + R to open the Run box. Type regedit and press Enter.

- This will open the Registry Editor. Navigate to the following key:
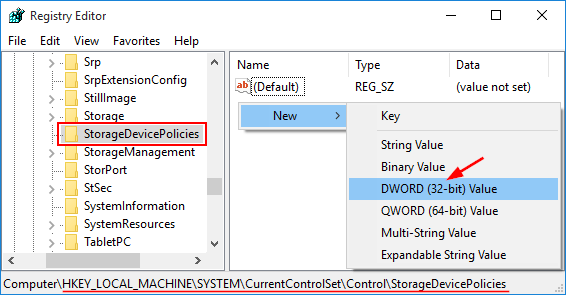
HKEY_LOCAL_MACHINE\SYSTEM\CurrentControlSet\Control - Right-click on the Control key in the left pane, select New -> Key. Name it as StorageDevicePolicies.

- Select the StorageDevicePolicies key in the left pane, then right-click on any empty space in the right pane and select New -> DWORD (32-bit) Value. Name it WriteProtect.
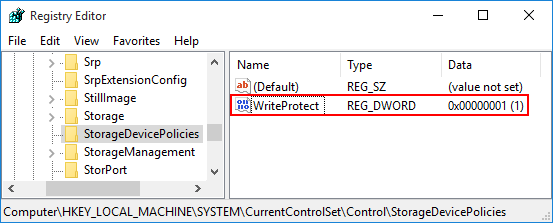
- Double-click on WriteProtect and then change the value data from 0 to 1.
- The new setting takes effect immediately. Every user who tries to copy / move data to USB devices or format USB drive will get the error message “The disk is write-protected“. We can only open the file in the USB drive for reading, but it’s not allowed to modify and save the changes back to USB drive.

So this is how you can enable write protection to all connected USB drives. If you want to disable write protection at a later time, just open Registry Editor and set the WriteProtect value to 0.