Need to change alert level of low battery on your laptop? No low battery level warning message and your computer always just shuts off? You won’t lose your unsaved documents if you set your computer to go into hibernation when reaching the critical-battery level. In this tutorial we’ll show you how to customize the critical & low battery level and action in Windows 10.
How to Customize Critical & Low Battery Level and Action in Windows 10?
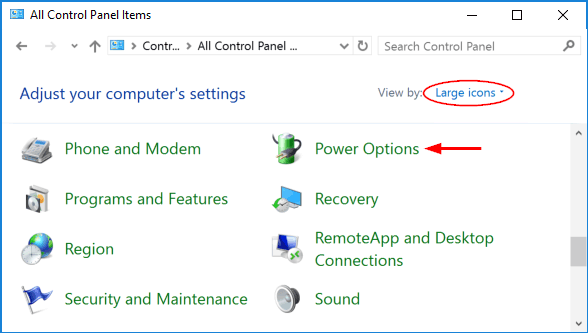
- Open the Control Panel with Large icons view. Click Power Options.
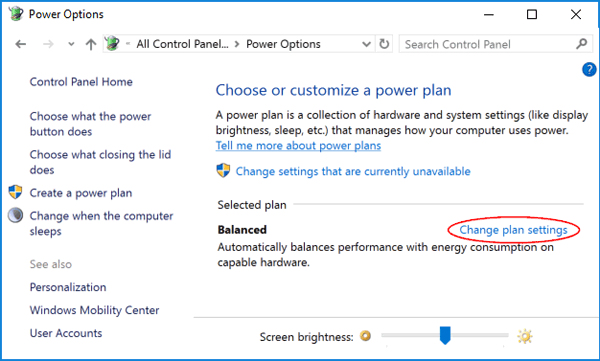
- Click the Change plan settings link next to the power plan that is currently selected for your laptop or tablet.
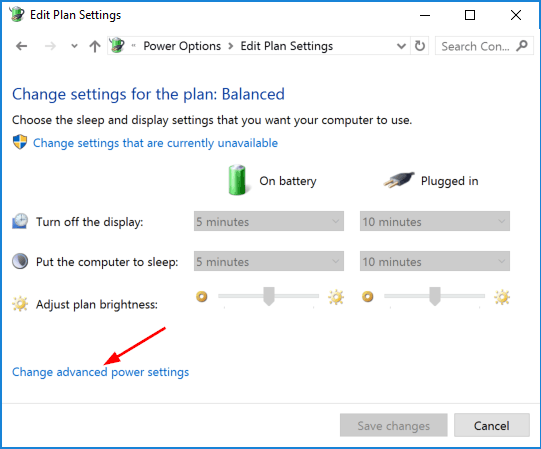
- Click the Change advanced power settings link at the bottom.
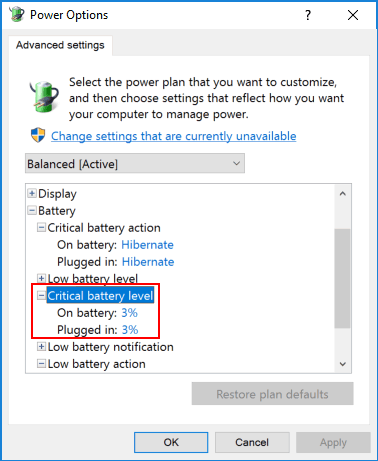
- When the Power Options dialog box shows up, click the “Change settings that are currently unavailable” link at the top to edit all power settings. Expand the Battery section in the list and you can find various battery settings.
- Expand the Critical battery action, you can select Hibernate, Sleep or Shutdown for both On battery and Plugged in. Expand the Low battery action and you can have the computer do nothing when the low battery level is reached.
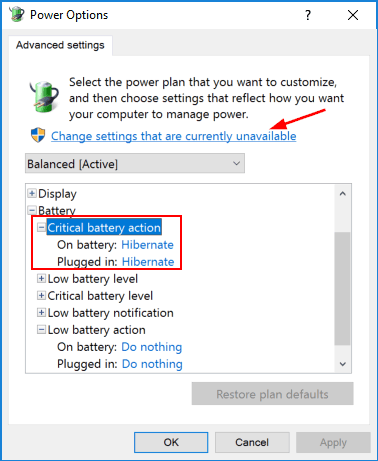
- Expand the Critical battery level, you can adjust the battery power percentage to 3% or higher. There is also corresponding option to change the low battery level.
- When it’s done, click OK to save your changes. If you have messed up the settings, just click the Restore plan defaults button at the bottom and your critical & low battery level and action will be restored to default.